What is backwards design?
Have you ever wondered ‘What is backwards design”? Backward design is a completely different way of thinking about lesson or unit planning. You design your lessons with a purpose, and not the purpose being, “Hey, I need to teach this topic from my standards!” Your purpose becomes much deeper. It becomes identifying and understanding what your students need to know at the end of the unit to show complete mastery of your standard or indicator.
This is so important because then you will begin mindfully planning your lessons and every minute of your instruction time will have a purpose. Why use the backward design model? In this blog, I am going to guide you through all of the reasons why it is so important to start planning this way. I am also going to clearly explain the process of planning your lessons and units using backward design. You will leave here today with a solid understanding of ‘What are the three stages of backward design in instructional planning’.
Backwards course design
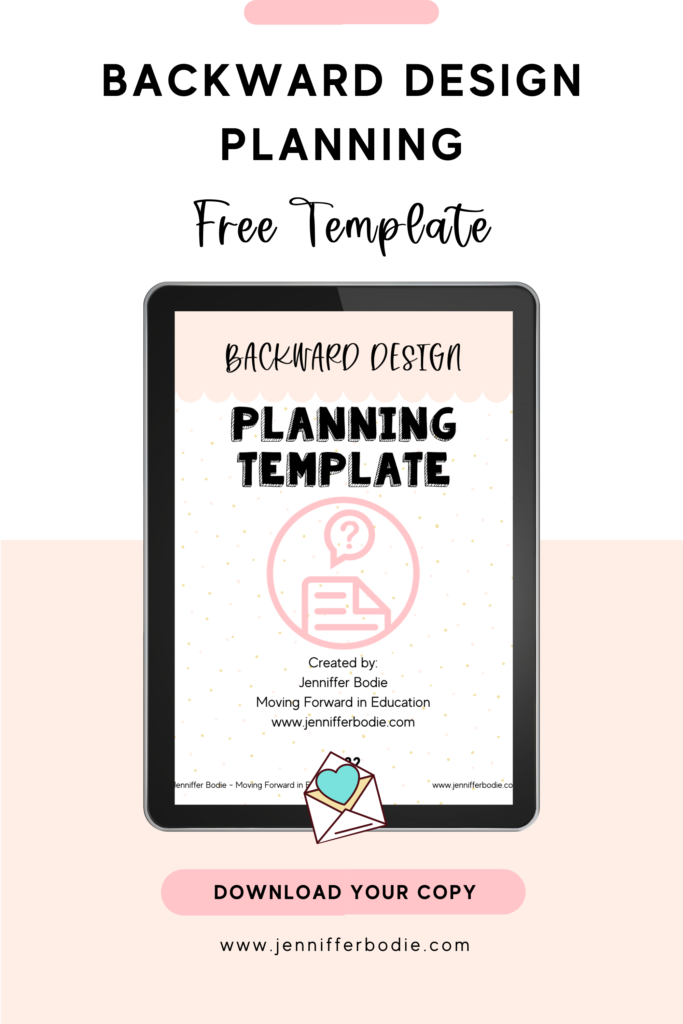
Before we dive in deep and learn all there is to know about backward design, I want you to know that I have created a printable template for you to use. You can use this template to plan out your units and lessons. You will be able to print as many copies as you like. This template is going to be great to keep in a binder to refer back to year after year.
I encourage you to use this template for planning, but also take notes on it while you are teaching your unit. It is important to write down what worked well, what went wrong, and any new ideas you found along the way that you want to try next year. Maybe, you just need to take notes on ‘Hey, I need to spend an extra day on that next time’ or ‘Hey, that went super quick for some of my students; what is a meaningful early finisher I could add in the future’. Then next year when you get ready to teach your unit, you will have all of that information at your fingertips, and your planning will be a breeze!
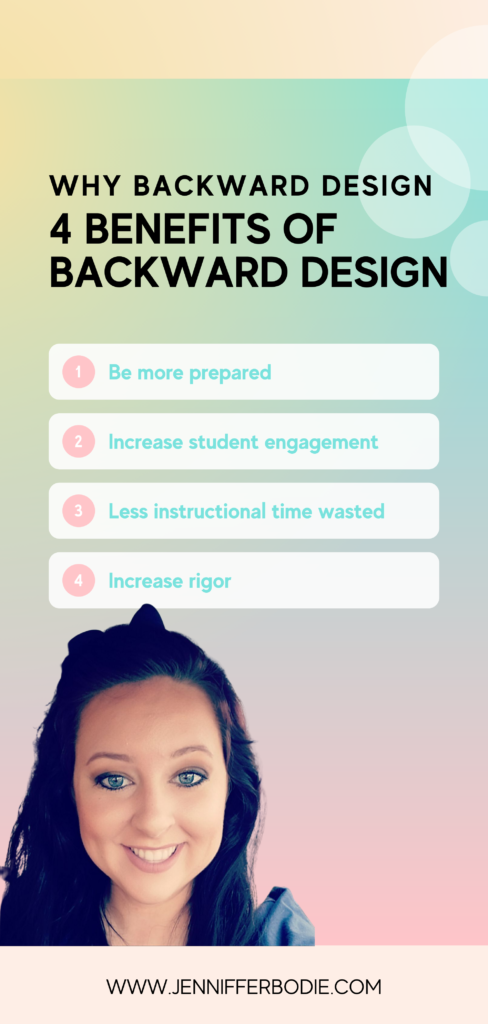
Why backwards design?
Like many of you, I used to plan a week at a time (sometimes not even that!). I would look at my standard, indicator, or support document. Then, I would see what I needed to teach. I would search through my state-provided curriculum and TeacherPayTeachers for any related materials. Then after starting my unit, sometimes even the night before the test, I would create an assessment. That assessment would be based on what I know I taught my students. Which is not always the same thing or to the same rigor as the standard or indicator intended.
Eliminate Assessment Issues
Let me explain to you where I ran into issues. Oftentimes, I would use a digital item bank to find questions for my assessment. I would find myself saying, “Oh, I can’t use that question, I didn’t teach that.” Sometimes, I would revisit my standard right before an assessment, and realize what I still need to teach. I would proceed by cramming that additional content in the next day all to stay on schedule with my units.
Better Use of Instruction Time
Then, I realized something. I was not giving my students the best instruction. They needed their teacher to be more organized, focused, and meaningful. But, I did know how I could achieve that. Until, I discovered backward design. Now, I’m not going to lie to you. Backward design takes a lot of front-end work. The good news is once that work is done… It is done! You won’t have to work on piecing together your unit every night in your own home. Utilizing backward design can help you with your work/life balance… But that’s another topic for another day.
Better Instruction. Period.
Anyways when I started using the backwards design method, I felt Like my instruction was more meaningful. I felt confident in what I was teaching, like I had a true purpose in my life and content. It was then I knew exactly what I wanted my students to learn, and I had a solid plan to get them there.
Increased Engagement
I felt like my students were more engaged because they innately noticed more meaning in their work. Also, I felt like my students were growing more. They were learning exactly what they were supposed to and that was reflected through things like district benchmarks and following units where previous content knowledge was required. I felt like I had more instructional time, and felt like I could actually get it all in. This is because I wasn’t teaching outside of the standard. I wasn’t wasting my valuable instruction time on an unnecessary thing.
I can’t wait to help you learn how to implement backwards design into your classroom, so you can see the difference.
What are the three stages of backward design?
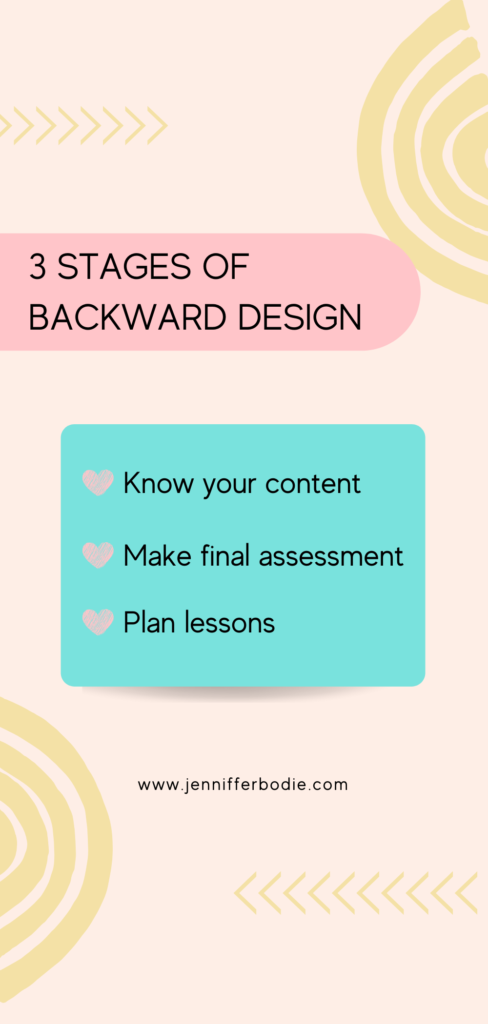
Backwards design is a several-step process. However, it can be clustered into three main steps. I like to think of backwards design as 3 stages because it helps me remember the order better. To generalize the three stages of backwards design think: know your content, make your final assessment, and plan your lessons. Below, I am going to break down each of these three stages so that you can fully understand what each of them entails.
Know your content
Okay! So for the first stage, you need to understand your content. What I mean by that is locating your standard (or indicator) and fully understanding your standard. So let’s break this down:
- Review your standard and identify what depth of knowledge it correlates with. (If you would like a free depth of knowledge chart. Click here.)
- Write down the end goal of your unit. This goal will show you whether students have demonstrated mastery or not.
- Create a list of essential knowledge that your students will need to reach your end goal.
Make your final assessment
Now that you know your content, it is time to make your final assessment. I recommend assessments being short and to the point but long enough that you can tell whether or not students have mastered the goal. ( In other words, everyone makes mistakes. Make sure your assessments allow for students to pass and show mastery even if they make a mistake and mess up on a question.)
- Make sure your final assessment matches the rigor and depth of knowledge of the standard.
- I also recommend including some lower depth of knowledge questions. This will allow you to see if your students have built the background knowledge but just not be able to apply it yet. You can use this data for small group remediation later.
- Make sure your assessment covers all parts of your standard and matches your goal(s).
Plan your lessons
Once you have finished creating your final assessment, you are ready to begin planning your lessons. You know where your students need to create a sequence to get them there. keep in mind that you may need to back up and teach previous content or previous grade-level content in order to make sure they are able to read your final goal.
- Every lesson needs to be aligned to your sequence.
- Your actual lessons can use a variety of methods: direct instruction, projects, demonstrations, inquiry (click here to see a blog I wrote devoted to inquiry), art, etc.
- Plan your lessons using Bloom’s taxonomy pyramid. – They need to learn the information well enough to use it to create. Remember creation is how you know they’ve got it
- Don’t forget to operationalize. Operationalizing is when you model what it looks like in the real world. Students need to know why the content they are learning matters in the real world.
Still want to know more about: “Why backwards design is important?”
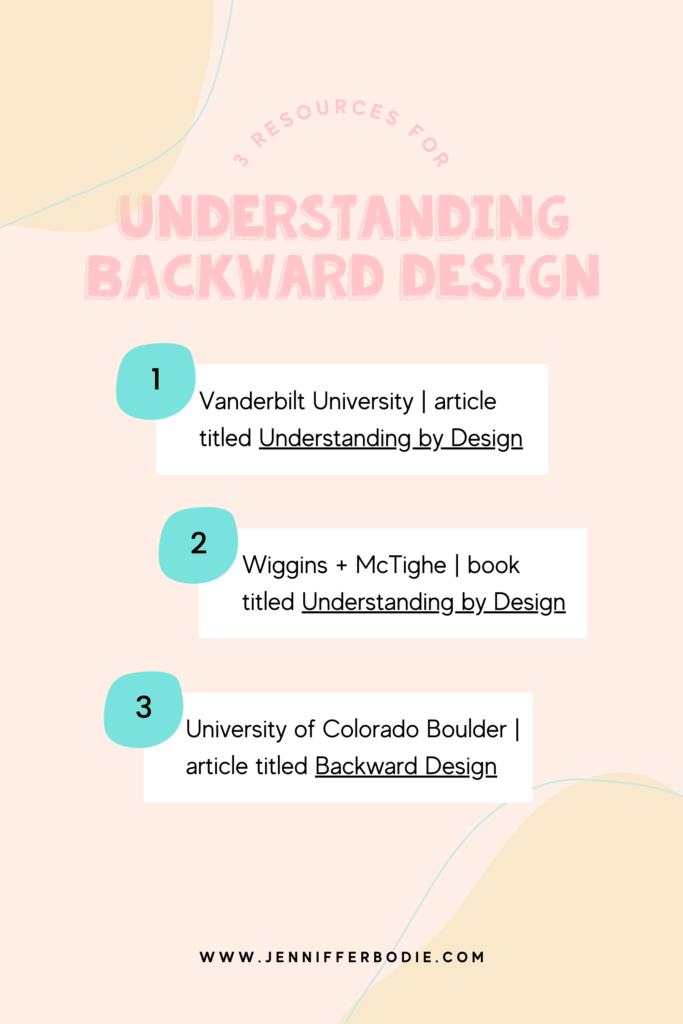
- Understanding by Design – This is an article hosted by Vanderbilt University. It has an entire section devoted to the importance of backwards design. It discusses how the change to backward design equivalates to an increase in your students’ learning.
- Understanding by Design – This link will take you to a PDF of Wiggins’ and McTighe’s first chapter of their book Understanding by Design. On the very first page, they dive into the reasons why best curriculum designs are “backwards”
- Backward Design – This is an article that is hosted by the University of Colorado Boulder. It offers some insight on how backward-designed units can be tailored to students’ specific needs, including ELL learners.
Need help on how to use backwards design in lesson planning?
Now that you have learned so much about backward design, I truly want to help you get started. I know you have enough on your plate already, so I want to make this as easy on you as possible. I have created a free unit and lesson planning template for you absolutely free of cost. Just click the link below, and I will email it to you!
Goodbye for now!
I hope I have done well at helping you answer the question ‘what is backwards design’. Please let me know in the comments below what your experience level is with backwards design. I want to hear from you whether you have no experience, a little bit of experience, or a lot of experience, and let me know 1 take you have from this blog.